


Login failed for user error when connecting to MSQL server on Windows
When connecting to MSSQL server, we often see below error:
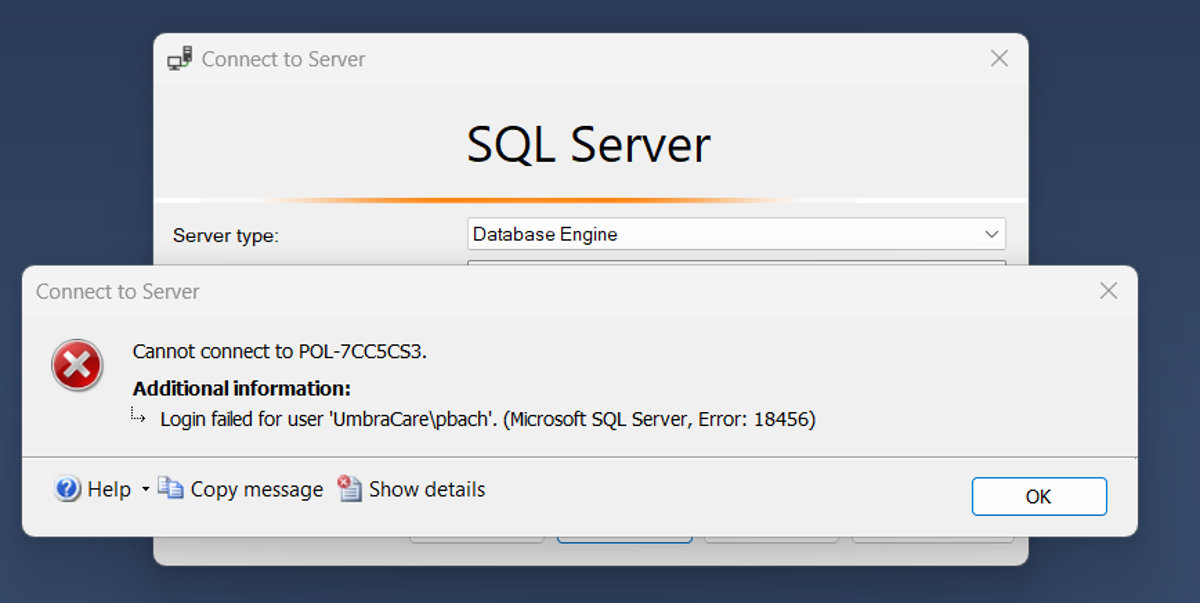
Login failed for user 'UmbraCare\pbach'. (Framework Microsoft SqlClient Data Provider)
Program Location:
at Microsoft.Data.SqlClient.SqlInternalConnection.OnError(SqlException exception, Boolean breakConnection, Action`1 wrapCloseInAction)
at Microsoft.Data.SqlClient.TdsParser.ThrowExceptionAndWarning(TdsParserStateObject stateObj, Boolean callerHasConnectionLock, Boolean asyncClose)
at Microsoft.Data.SqlClient.TdsParser.TryRun(RunBehavior runBehavior, SqlCommand cmdHandler, SqlDataReader dataStream, BulkCopySimpleResultSet bulkCopyHandler, TdsParserStateObject stateObj, Boolean& dataReady)
It's possible to create a domain user login directly from Powershell.
Alternatively, you can simply use Management Studio, to learn more - navigate to Creating a SQL Server login for an existing domain user in SSMS.
Creating a domain user login with SQL Server administration rights
To create a domain user login with SQL Server administration rights, you will need to add the user to the sysadmin server role.
The sysadmin role grants the highest level of privileges on the SQL Server instance, including the ability to create, delete, and connect to databases.
# Import the SQL Server module
Import-Module SqlServer

# Define variables
$serverInstance = "POL-7CC5CS3" # Your SQL Server instance name
$domainUser = "UmbraCare\pbach" # The domain user you want to create a login for

# Connect to the SQL Server instance
$sqlServer = New-Object -TypeName Microsoft.SqlServer.Management.Smo.Server -ArgumentList $serverInstance

# Create a new login object for the domain user
$newLogin = New-Object -TypeName Microsoft.SqlServer.Management.Smo.Login -ArgumentList $sqlServer, $domainUser

# Set the login properties for a Windows-authenticated user
$newLogin.LoginType = [Microsoft.SqlServer.Management.Smo.LoginType]::WindowsUser

# Create the login on the SQL Server instance
$newLogin.Create()

# Add the login to the sysadmin server role
$sysadminRole = $sqlServer.Roles["sysadmin"]
$sysadminRole.AddMember($domainUser)

# Output the result
Write-Output "Login for $domainUser created and added to sysadmin role successfully on $serverInstance."
This script contains two important lines:
- After creating the Windows-authenticated login, it retrieves the sysadmin server role using $sqlServer.Roles["sysadmin"].
- It then adds the newly created login to the sysadmin role using $sysadminRole.AddMember($domainUser).
Important Considerations:
- This script grants the highest level of permissions available in SQL Server to the specified domain user. Ensure that this is in line with your organization's security policies.
- The domain user you specify must already exist in Active Directory.
- Running this script requires that you have sufficient permissions on the SQL Server instance to create logins and modify server roles.
- Always review the implications of granting sysadmin privileges, as users with this role can perform any action on the SQL Server instance.
Installing the missing SqlServer module via Powershell
During script execution, you can encounter a common error:
Import-Module : The specified module 'SqlServer' was not loaded because no valid module file was found in any module di
rectory.
The error message you're seeing indicates that the SqlServer PowerShell module is not installed on your system, or PowerShell can't find it in the default module directories.
To resolve this, you need to install the SqlServer module from the PowerShell Gallery.
This module provides the cmdlets necessary to interact with SQL Server, including creating logins and assigning roles.
Here's how you can install the SqlServer module:
Step 1: Open PowerShell as Administrator: To install modules from the PowerShell Gallery, you might need to run PowerShell as an administrator. You can do this by searching for PowerShell in the Start menu, right-clicking on it, and selecting "Run as administrator."
Step 2: Install the Module: Use the following command to install the SqlServer module. This command uses the Install-Module cmdlet which is part of the PowerShellGet module, included in PowerShell 5.1 and later.
Install-Module -Name SqlServer -AllowClobber -Scope CurrentUserThe -AllowClobber parameter is optional and allows the cmdlet to overwrite any conflicting commands in other modules.
The -Scope CurrentUser parameter installs the module only for the current user, which doesn't require administrator permissions. Remove this parameter if you want to install the module for all users on the system, but make sure you're running PowerShell as an administrator.
Step 3: Verify Installation: After installation, you can verify that the module is installed by using the Get-Module -ListAvailable SqlServer command. This command lists all installed modules that match the name "SqlServer."

Step 4: Retry the Script: With the SqlServer module installed, try running your script again. PowerShell should now be able to recognize and use the cmdlets provided by the module.
If you encounter any errors during the installation, make sure that your version of PowerShell supports the PowerShellGet module and that your system is connected to the internet.
If you're using an older version of PowerShell, you might need to update it or install the PowerShellGet module manually.
Remember, after installing the module, you can proceed with the script to create a SQL Server login for a domain user and assign the appropriate roles as needed.
Final thoughts
🌐 Explore More: Interested in learning about .NET and web development insights?
Explore our blog for a wealth of information and expert advice.