


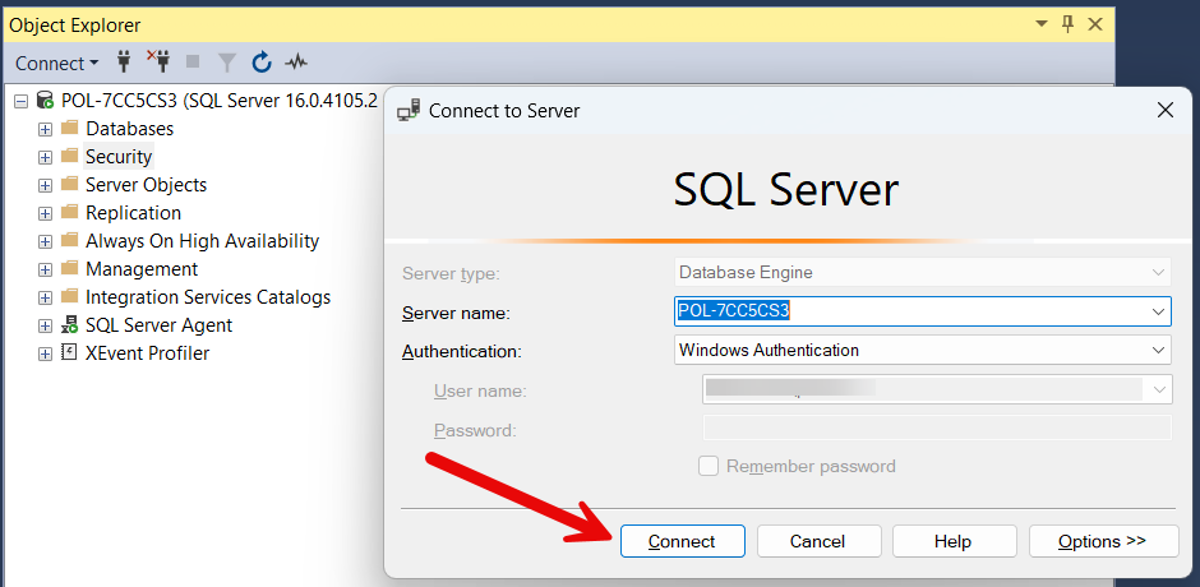
Step 1: Connect to Your SQL Server Instance
- Open SQL Server Management Studio (SSMS).
- Connect to your SQL Server instance by entering the server name (ex: POL-7CC5CS3), choosing the authentication method (typically Windows Authentication for domain users), and clicking "Connect".
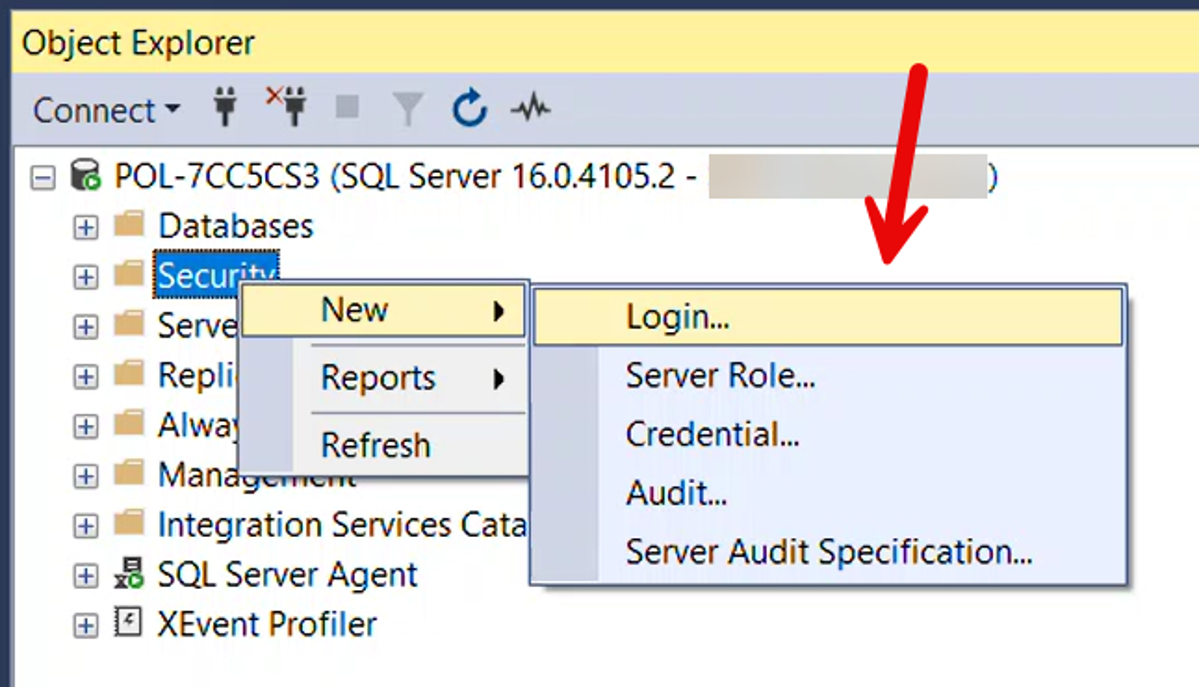
Step 2: Create a New Login
- In Object Explorer, expand the server where you want to create the new login.
- Right-click on the "Security" folder, then navigate to "New" > "Login..." to open the Login - New dialog.
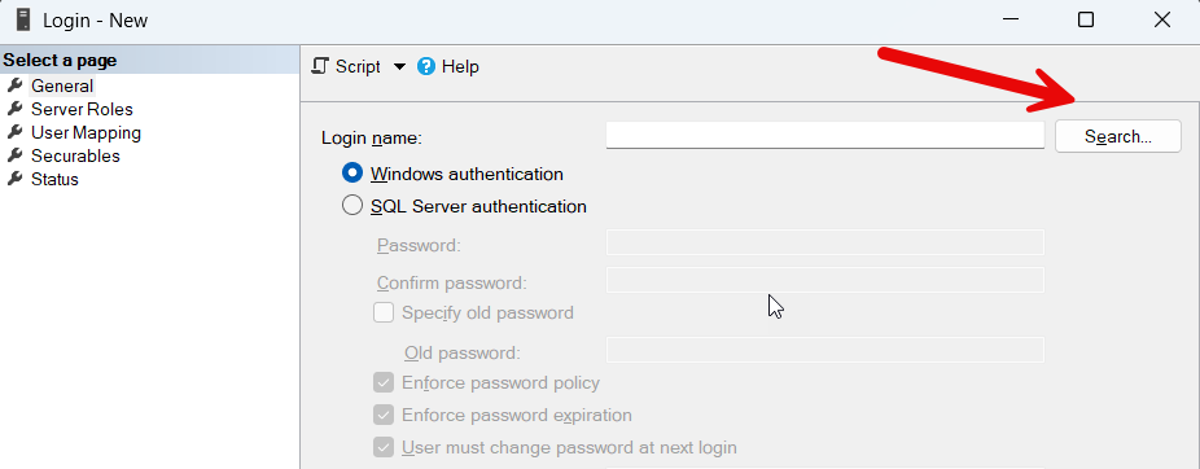
Step 3: Specify Login Name
- In the Login - New dialog, select the "Windows authentication" option. This is because you're adding an existing domain user.
- Click on the "Search..." button to specify the user or group. This opens the Select User or Group dialog.
- Ensure "Locations..." includes your domain. If not, click "Locations..." and select your domain.
- In the "Enter the object name to select" field, type the name of the domain user (e.g., DOMAIN\Username), then click "Check Names" to verify. Once verified, click "OK".
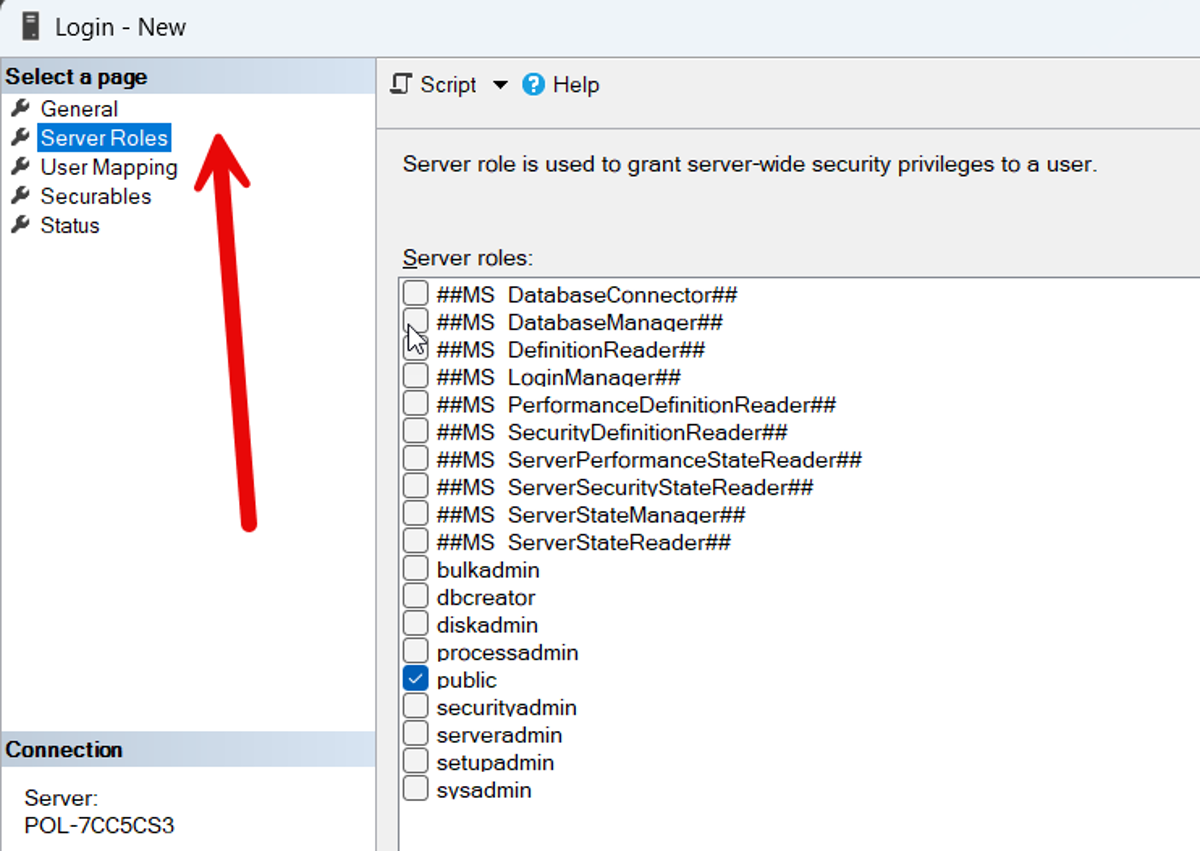
Step 4: Configure Server Roles
- In the same Login - New dialog, switch to the "Server Roles" page on the left-hand side.
- Check the roles you need.
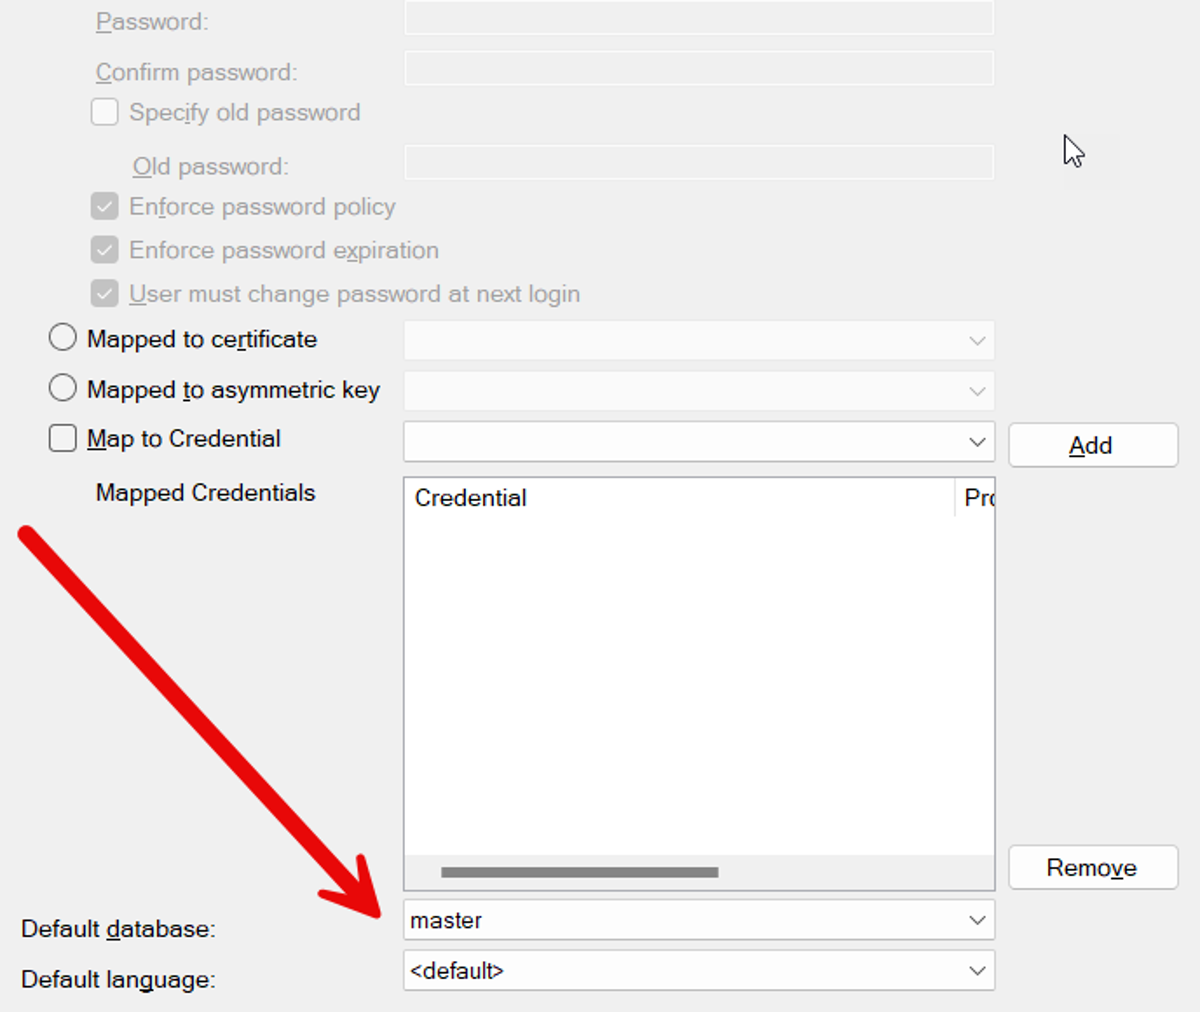
Step 5: Set Default Database (Optional)
- Optionally, you can set the default database for the user by selecting the "General" page again and choosing a database from the "Default database" dropdown. The default is usually set to "master".
Step 6: Finalize and Create the Login
- Click "OK" to create the new login with the specified configurations.
Step 7: Verify the Login (Optional)
- To verify the creation of the new login, expand the "Security" folder, then the "Logins" folder in Object Explorer. You should see the new login listed there.
- Additionally, you can try connecting to the SQL Server instance using the new login credentials (if applicable) or verify that the domain user can now access SQL Server with privileges.